Concerning Humpback Whale Fluke Identification and It’s Use in Whale Research
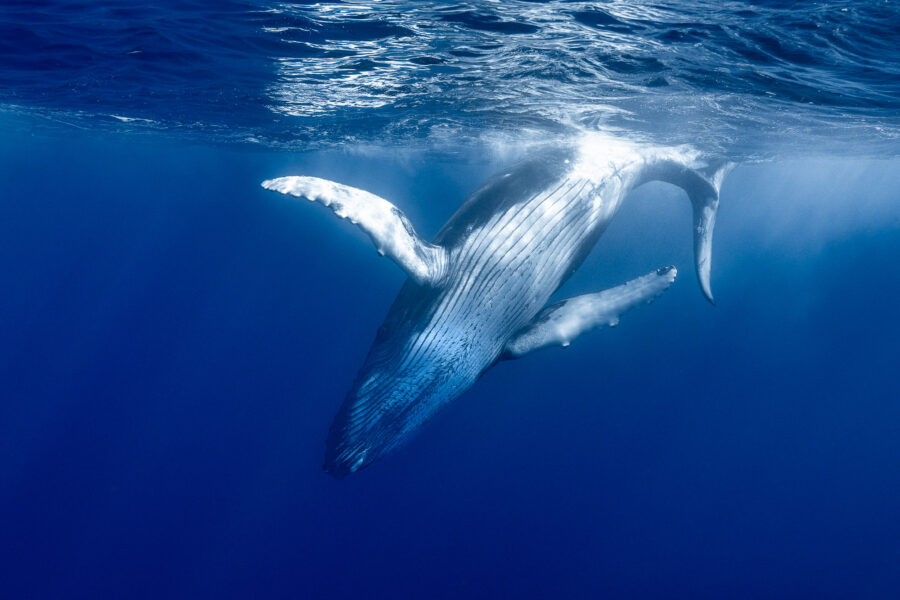
For researchers, the raised tail of a humpback whale is more than a dramatic moment at the surface. It is an identifying record that can connect one animal’s movements, survival, reproduction, and population history across years and locations. I was introduced to the practice of photographing humpback whale flukes in…
adminMay 7, 2026